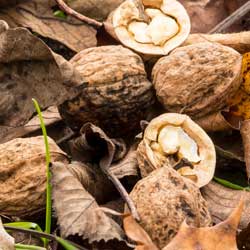
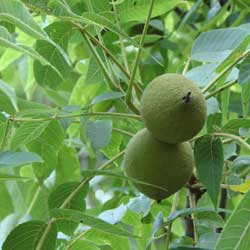
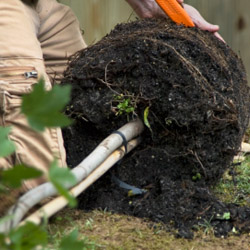
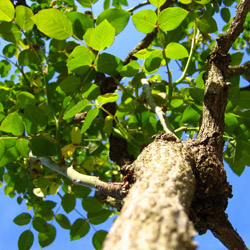
If you have a black walnut tree on your property, you know how difficult it can be to find anything that will grow anywhere near this plant.
Black walnuts release a substance called juglone into the soil, which is toxic to many ornamental and edible plants and can stunt their growth significantly – in fact, juglone is used as a herbicide in some areas! A mature black walnut tree can have a toxic zone with up to an 80-foot radius, depending on the tree’s size and age. Every part of the walnut tree contains juglone and this substance remains in the soil long after the tree is cut down, continuing to inhibit anything that may be planted in its place.
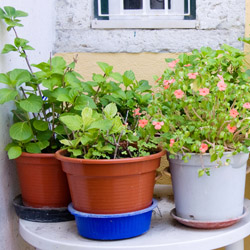
Fortunately, there is a wide variety of plants that are less affected by juglone and can still thrive in contaminated soil. When choosing to plant in an area where a black walnut is located or where one once stood, it is safe to make your selection from the lists below.
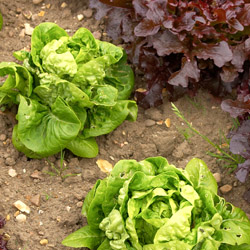
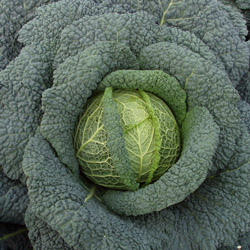
Vegetables
- Beans
- Corn
- Carrots
- Melons
- Squash
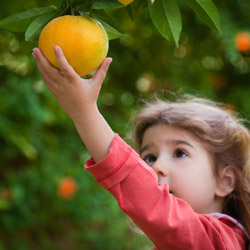
Fruit
- Black Raspberry
- Cherry
- Nectarine
- Peach
- Pear
- Plum
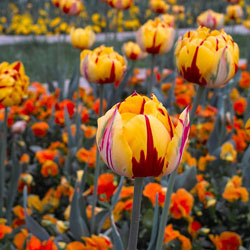
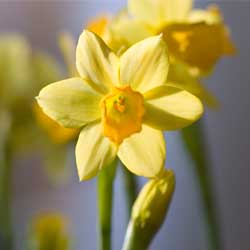
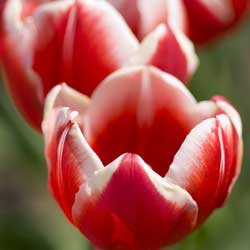
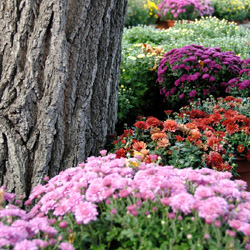
Annuals
- Pot-marigold, Calendula officinalis
- Begonia, fibrous cultivars
- Morning Glory, Ipomoea
- Pansy, Viola
- Zinnia species
Perennials
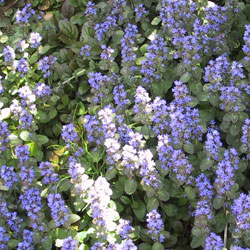
- Bugleweed, Ajuga reptans
- Hollyhock, Alcea rosea
- European Wild Ginger, Asarum europaeum
- Astilbe species
- Bellflower, Campanula latifolia
- Leopard’s-Bane, Doronicum species
- Sweet Woodruff, Galium odoratum
- Cranesbill, Geranium sanguineum
- Common Daylily, Hemerocallis
- Coral Bells, Heuchera
- Plantain-lily, Hosta
- Siberian Iris, Iris sibirica
- Balm, Monarda didyma
- Sundrops, Oenothera fruticosa
- Summer Phlox, Phlox paniculata
- Polyanthus Primrose, Primula x polyantha
- Lungwort, Pulmonaria species
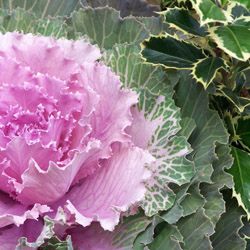
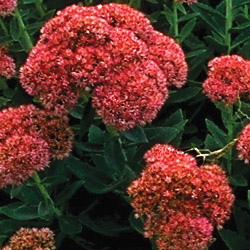
- Showy Sedum, Sedum spectabile
- Lamb’s-Ear, Stachys byzantina
- Spiderwort, Tradescantia virginiana
- Horned Violet, Viola cornuta
Ferns
- Crested Wood Fern, Dryopteris cristata
- Senstitive Fern, Onoclea sensibilis
- Cinnamon Fern, Osmunda cinnamomea
Bulbs
- Glory-of-the-Snow, Chionodoxa luciliae
- Crocus species
- Winter Aconite, Eranthis hyemalis
- Snowdrop, Galanthus nivalis
- Spanish Bluebell, Hyacinthoides hispanica
- Grape Hyacinth, Muscari botryoides
- Siberian Squill, Scilla sibirica
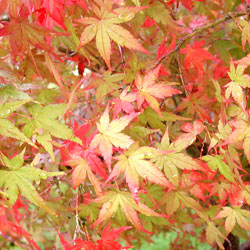
Trees
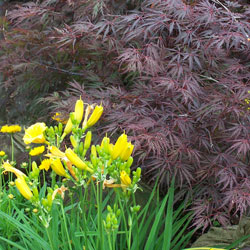
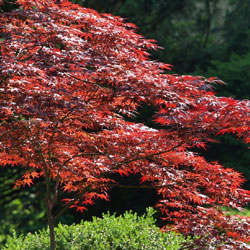
- Japanese Maples, Acer palmatum
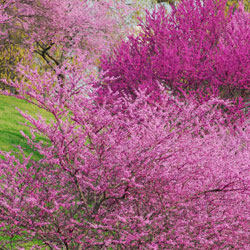
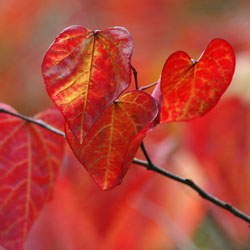
- Eastern Redbud, Cercis canadensis
- Canadian Hemlock, Tsuga canadensis
Vines and Shrubs
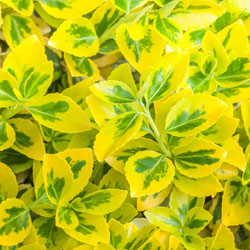
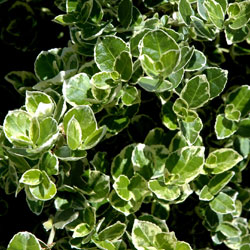
- Euonymus species
- Rose of Sharon, Hibiscus syriacus
- Honeysuckle, Lonicera species
- Virginia Creeper, Parthenocissus quinquefolia
- Arborvitaes, Thuja species
Black walnut can be a challenging plant to have in your landscape, but if you understand the unique characteristics of this tree you can easily pair it with other plants that don’t mind its toxic effects.