Ah, marigolds – they are the unsung heroes of the summer flower garden. Resilient, bold, and long-blooming, they create a tapestry of glowing yellow, gold, orange, and red that shines in a sunny setting from late spring to frost.
Types
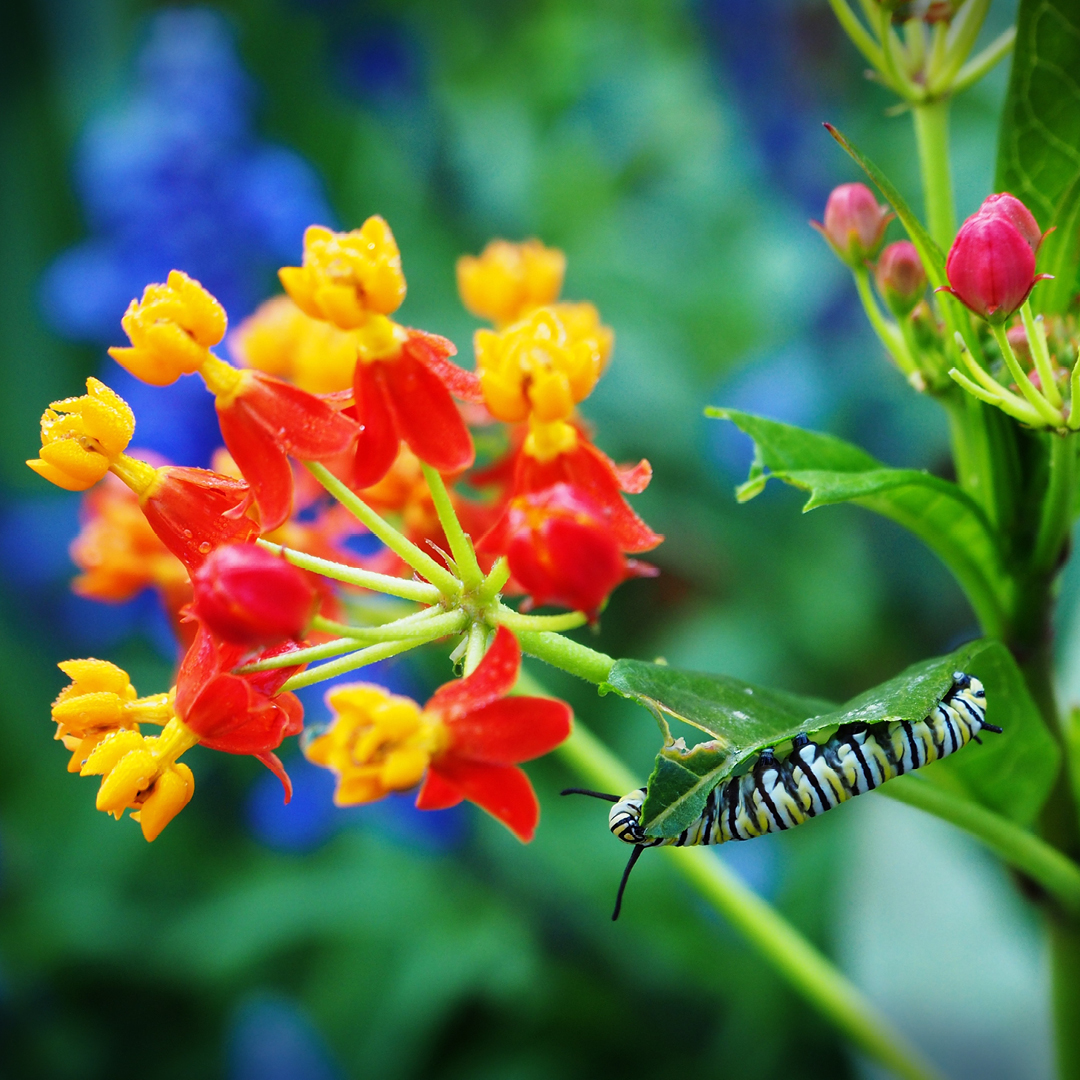
There are three main types of marigolds. They all have edible petals, are perfect for creating natural dyes, attract bees and butterflies, and share a distinct aroma that helps ward off some common garden pests. Yet, each type, with its own individual size and shape, holds a unique position in the garden.
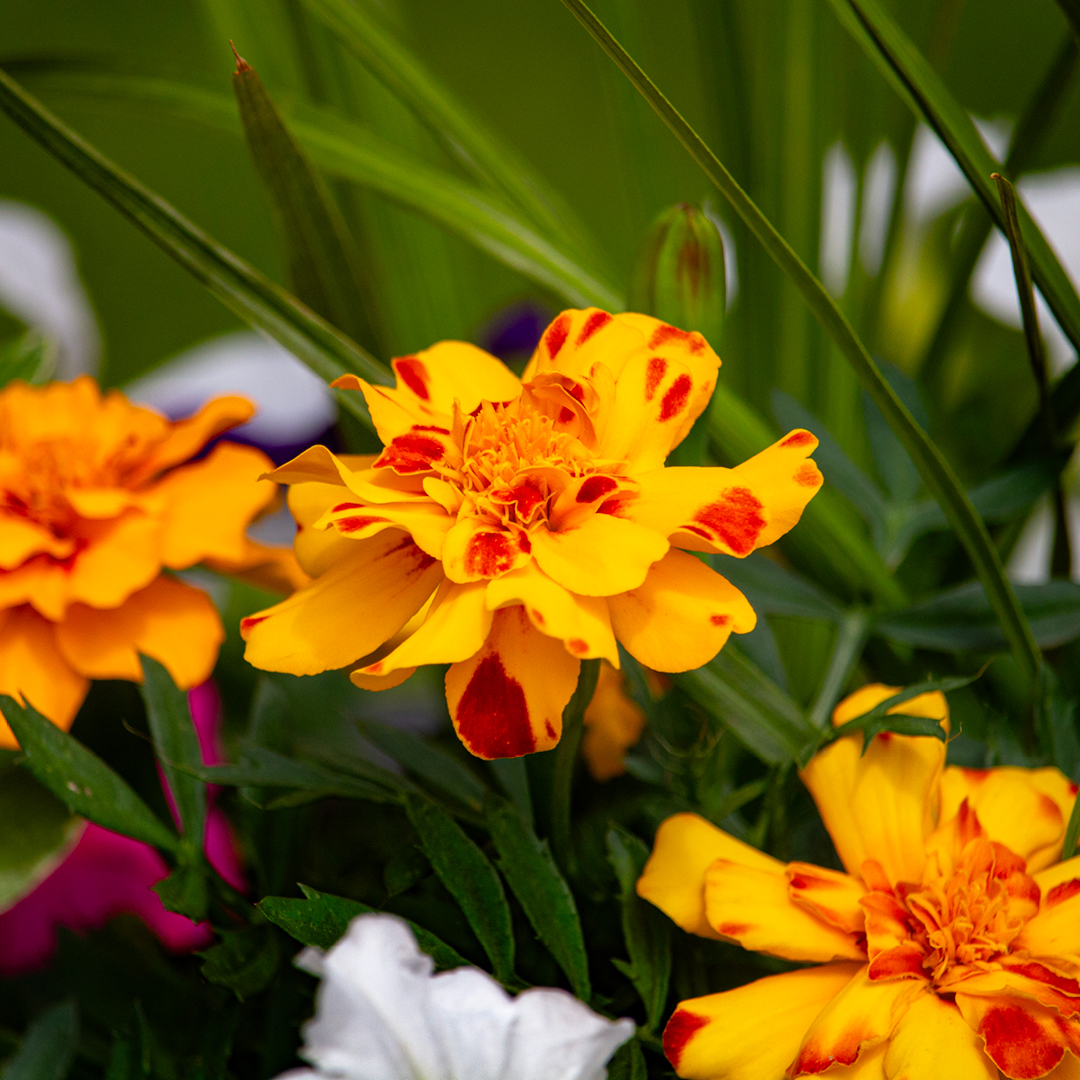
French Marigolds (Tagetes patula)
French marigolds are compact, bushy plants with delicate, lacy foliage and brightly colored blooms in orange, yellow, and red shades. They are perfect for border edging, adorning container gardens, or nestled next to your vegetable plants. Their small size will not overshadow other plants in the edible garden.
African Marigolds (Tagetes erecta)
Taller than French marigolds, African marigolds exhibit larger, more showy flowers in creamy white, yellow, gold, and orange shades. They are the perfect addition to the middle of a bright-colored flower bed or border. Their statuesque form and long, sturdy stems make them an exquisite choice for cut flower arrangements.
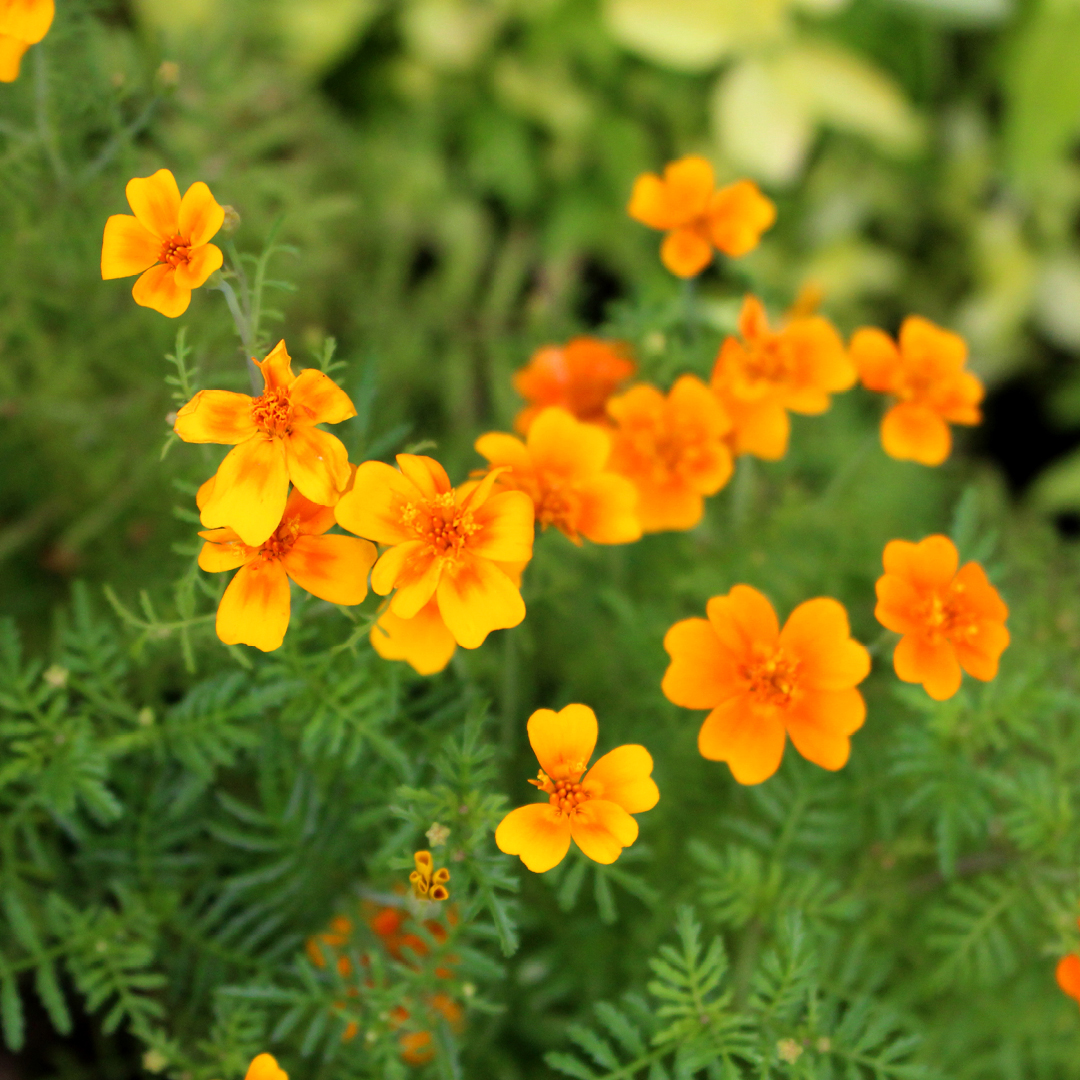
Signet Marigolds (Tagetes tenuifolia)
With their delicate, fern-like foliage, Signet Marigolds are small in stature and produce tiny blooms in warm tones of red, orange, and yellow. With a citrusy flavor, these edible flowers look lovely as a garnish and taste delicious in salads. Signets work well for border edging, sunny window boxes, and containers.
Marigold Cultivation & Care
Marigolds are simple plants, easy to grow, with few demands. They aren’t fussy, but they do have some preferences.
- Site: They flower best with a minimum of 6 hours of sunlight.
- Soil: Regarding soil, they are partial to a well-draining one, rich in organic matter, with a pH level between 6.0 and 7.0. If you’ve got sandy loam soil, you’ve hit the jackpot in the marigold world.
- Pinching: Marigolds benefit from pinching when young, creating a fuller plant with plenty of side branching and blooms.
- Feeding: Add granular organic or slow-release fertilizer to the soil at planting time, then feed plants every other week with a liquid fertilizer listed for flowering annuals.
- Mulching: Adding a layer of mulch to the soil around your plants will help retain soil moisture and prevent weeds; plus, it looks great!
- Watering: Deep, infrequent watering that allows the soil to dry out in between is what marigolds desire.
- Deadheading: Frequently remove spent flowers to keep fresh blooms coming.
The 10 Best Marigolds for Your Home Garden
Select marigolds for a splash of sunshine in summer containers and gardens. There’s something about these vibrant flowers that just makes you smile! Here’s a curated list of the top 10 marigold varieties to brighten your growing space.
- French Marigold ‘Petite Mix’
Imagine a kaleidoscope of colors from yellow and orange to deep maroon in your garden. The ‘Petite Mix’ is a dwarf variety, perfect for the foreground of borders and beds. Its small stature packs a punch of color that will dazzle you all summer long. - African Marigold ‘Crackerjack’
Standing tall and proud, ‘Crackerjack’ offers large, fluffy blooms that resemble the sun. This variety is a beacon of joy with its bright yellow and orange flowers, inviting butterflies to the garden. - Signet Marigold ‘Tangerine Gem’
Like little drops of citrus delight, ‘Tangerine Gem’ will light up your garden. Its dainty, edible flowers present a unique zest to salads. Plus, its lacy foliage makes it a visually attractive ground cover. - French Marigold ‘Durango Red’
Add some spice to your garden with ‘Durango Red.’ Its deep, velvety red blooms edged with gold bring an exotic flair. Compact and resilient, this marigold does wonders for container gardening. - African Marigold ‘Mission Giant Yellow’
The name says it all! ‘Mission Giant Yellow’ towers over other garden plants, bringing a majestic presence. Its massive, bright yellow blooms are a stunning focal point for any sunny spot. - Signet Marigold ‘Lemon Gem’
Sister to ‘Tangerine Gem,’ ‘Lemon Gem’ offers lemony yellow blossoms that sparkle against its feathery green foliage. It’s not just their appearance; these flowers also have a delightful lemony fragrance. - French Marigold ‘Harlequin’
A true showstopper, ‘Harlequin’ boasts bi-colored petals in fiery shades of red and gold. This marigold variety adds a dramatic flair to your garden, attracting attention wherever it blooms. - African Marigold ‘Vanilla’
For those who prefer a softer palette, ‘Vanilla’ offers creamy white flowers that provide a soothing contrast to the typical marigold colors. Its unexpected soft coloring will make visitors do a double-take. - Signet Marigold ‘Paprika’
Spice up your garden with ‘Paprika’. This variety features tiny, rustic orange blossoms scattered across a bush of green. It’s perfect for adding a sprinkle of warmth to your sunny containers and window boxes. - French Marigold ‘Bolero’
And last but certainly not least, ‘Bolero’ dances in your garden with its red and yellow fringed petals. It’s as if each flower is celebrating the joy of sunny days, inviting you to join in the festivity.
Each marigold variety brings its unique character to your summer garden, creating a tapestry of color and splash of splendor. Plan on growing a wide variety of marigolds this summer to grace your gardens with their warm, glowing colors, delightful flowers, unique fragrance, easy care, and long bloom time.