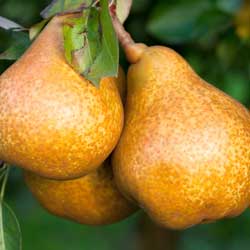
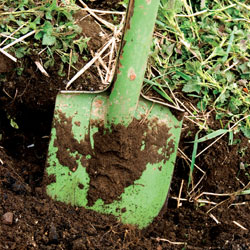
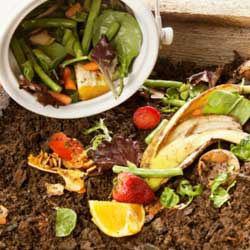
Turn over your vegetable garden and add humus, mushroom compost or manure to enrich the soil. Apply Bonide Fruit Tree Spray as buds swell and again at petal drop to all fruit trees.
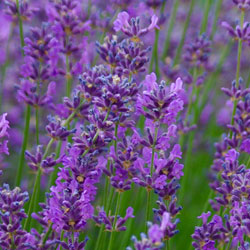
Fertilize perennials with Dr. Earth Rose & Flower Fertilizer.
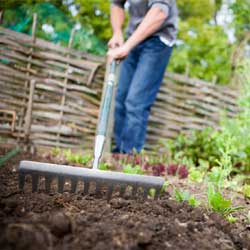
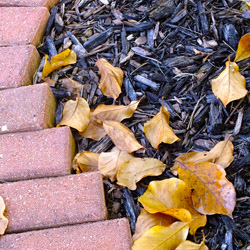
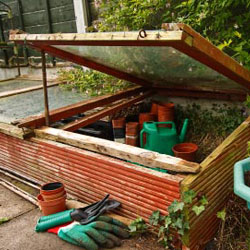
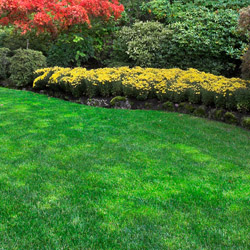
Continue spring cleanup. Completely remove winter mulch. Cultivate to remove winter weeds and debris from the planting beds, then edge. Prepare your annual beds, and mulch landscape beds with shredded mulch, bark chips or gravel. Apply Preen or Corn Gluten and scratch it in to prevent future weeds, or try the new Preen Mulch Plus which combines mulch and Preen and prevents weeds for up to 6 months.
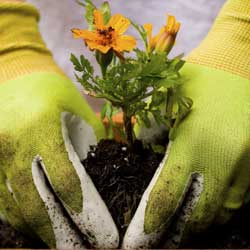
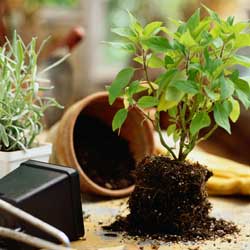
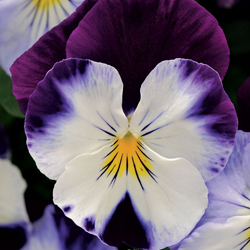
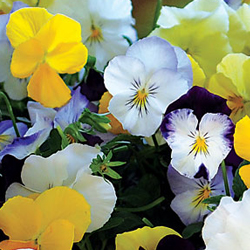
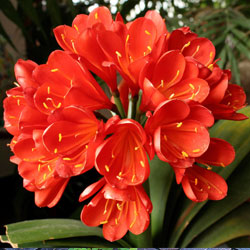
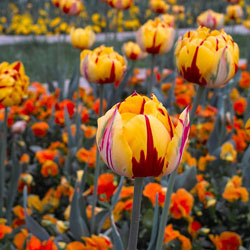
Plant and transplant trees and shrubs, including roses, ground covers, and perennials (including hardy lilies and lily-of-the-valley).
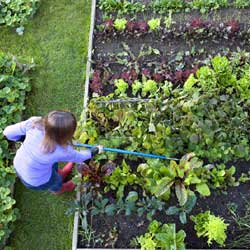
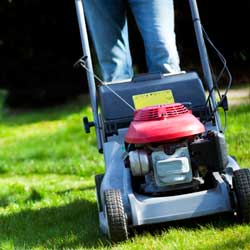
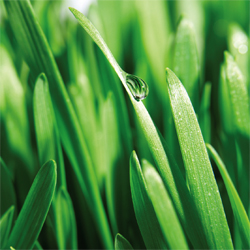
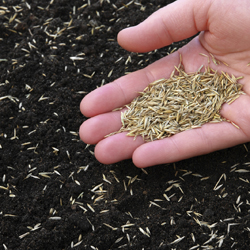
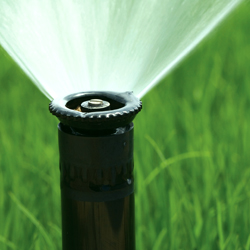
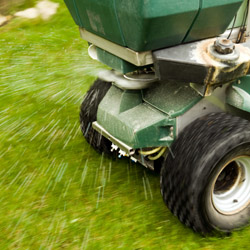
Seed or sod new lawns. Reseed bare spots in established lawns. Keep the area moist until seedlings appear, then mow when the new grass is 3” high.
Put down a second application of Team or Tupersan (newly seeded lawns) for pre-emergent goosegrass control and control of crabgrass the rest of the year.
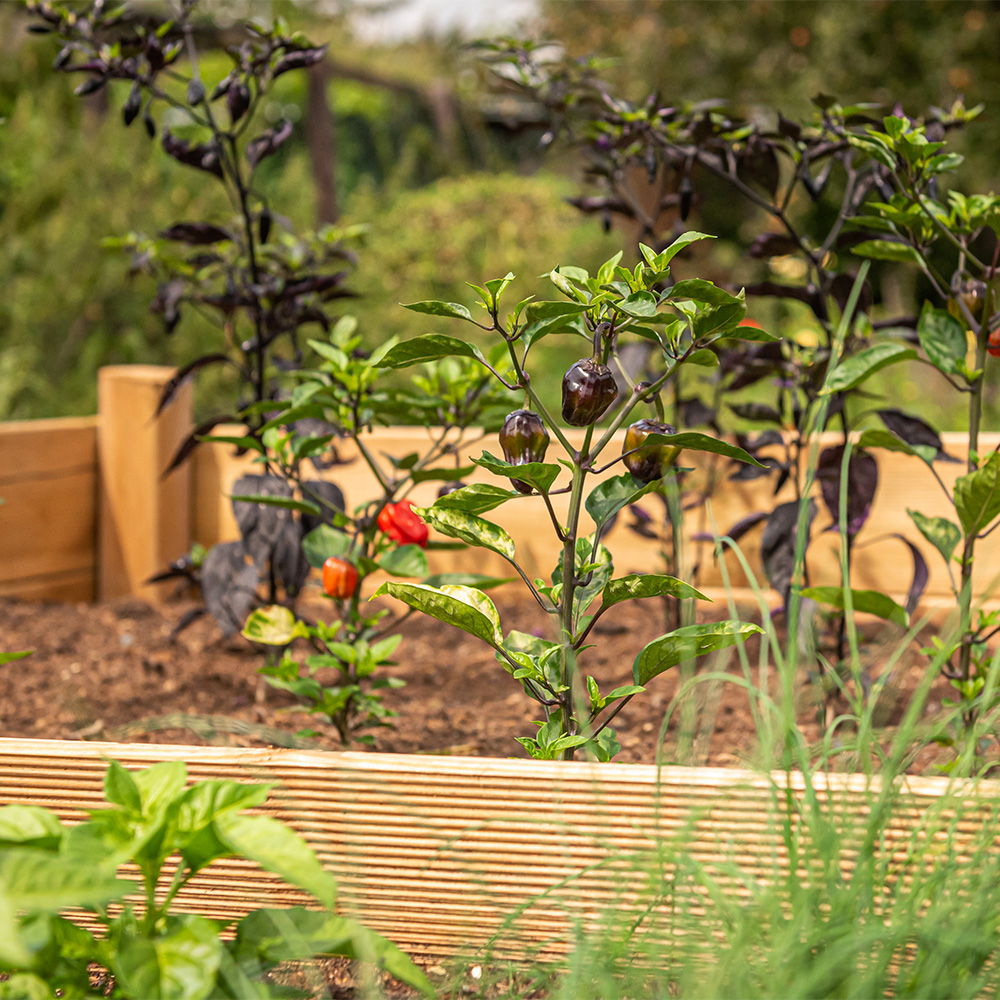
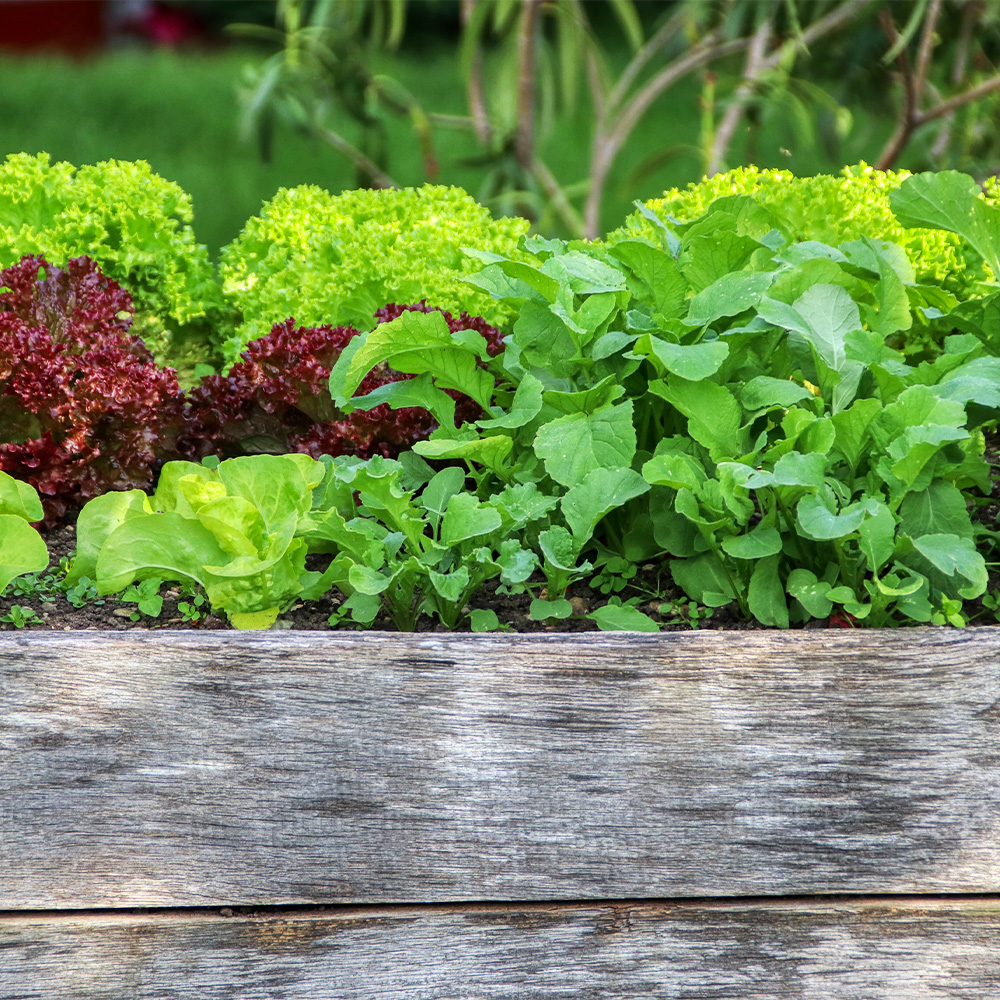
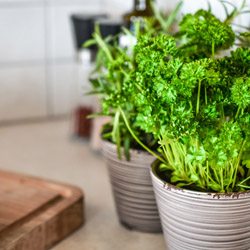
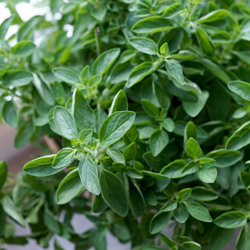
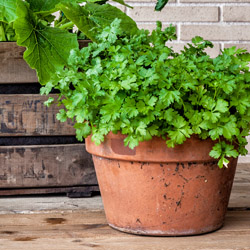
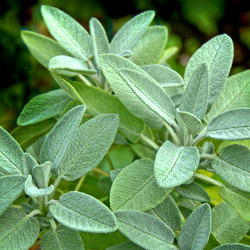
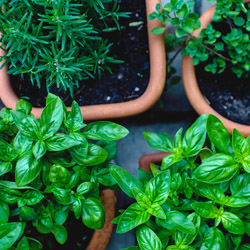
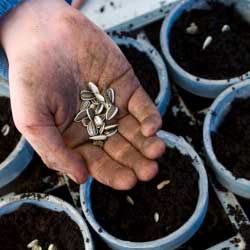
Transplant cool-season seedlings into the garden. When the soil temperature reaches 60 degrees, sow warm- and cool-season vegetable and herb seeds.
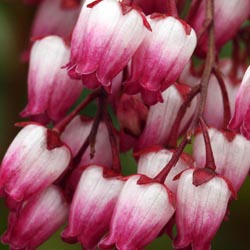
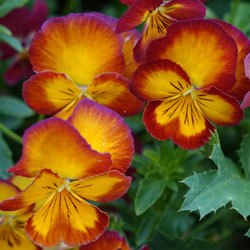
Dig and divide crowded spring bulbs after they have finished blooming. Enrich the soil with compost, manure or Espoma Bulb-Tone.
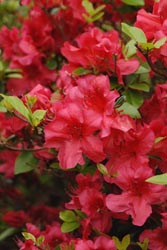
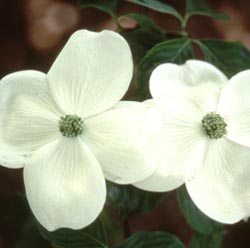
Prune forsythia and other spring-flowering trees and shrubs after the flowers fall.
Place gro-thru sets and link stakes over or around peonies, grasses or any other perennials in need of support.
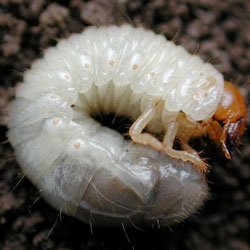
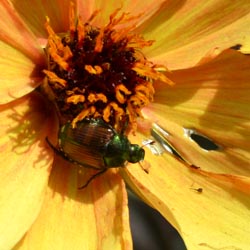
Check arborvitae, cedar, juniper spruce and pine for bagworms. Hand-pick bags from the host and spray with Ortho Systemic Insecticide.
Begin summer rose care program of deadheading, spraying and watering.
Fertilize roses with Bayer All In One Rose and Flower Care or Dr Earth Rose and Flower Fertilizer, azaleas with Espoma Holly-Tone or Dr Earth Azalea/Camelia Fertilizer, and fruit trees with Dr Earth Tomato and Vegetable Fertilizer.
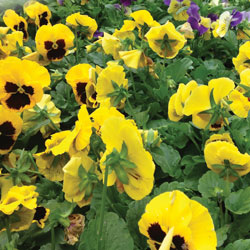
Deadhead bulbs, but leave foliage to mature and yellow before removing. This will help nourish the bulb for next year’s flowering. Fertilize with Dr Earth Bulb Fertilizer.
Prune new growth on needled evergreens.
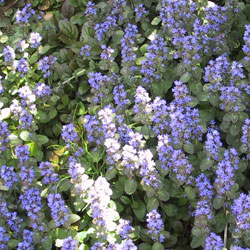
Dig and divide early blooming perennials after flowering.
Apply Encap Fast Acting Iron Plus or Bonide Liquid Iron Plus to azaleas, hollies, junipers, laurel, pines, rhododendron and spruce to provide iron for chlorophyll production by foliage.
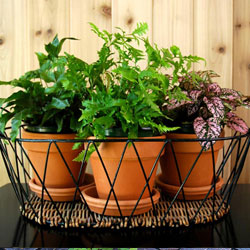
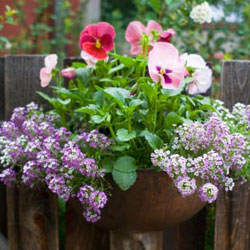
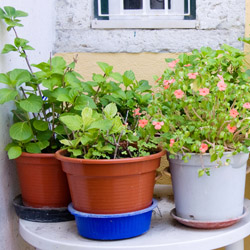
Fertilize container plants and window boxes weekly with a Master Nursery Bud and Bloom Plant Food, or use Dynamite All Purpose Plant Food for season-long feeding, to promote healthy, vigorous plants all summer.
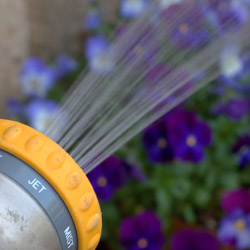
Pay close attention to the watering needs of these plants as well as hanging baskets, because they tend to dry out quickly on hot summer days.
Check plants for spider mite damage and treat with Bayer 3 in 1 Insect, Disease and Mite Control then alternate every 7-10 days with Bonide All-Season Oil Spray.