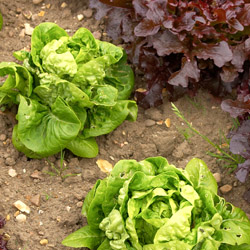
Fresh vegetables don’t have to end as the days grow shorter – fall is a great time to plant an autumn garden to extend the growing season. Many vegetables such as broccoli or cauliflower are of a higher quality when grown in the fall, while others, like kale, develop better flavor after a frost. Spinach, chard, kale, collards, mustard and rapeseed all grow rapidly and flourish at the end of the season, ideal for autumn gardening. Loose-leaf lettuces do well, too.
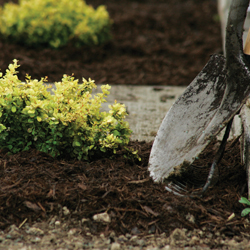
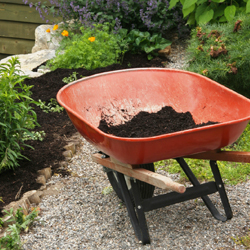
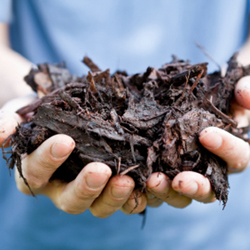
To prepare your bed, immediately pull out whatever plants have finished producing. Spade or till the soil to a depth of 6-8 inches, rake the area lightly and work in a light application of composted manure or 5-10-5 fertilizer to provide adequate nutrition for rapid-growing fall veggies.
Broadcast a mixture of seeds like mustard, kale and rapeseed, or combine seeds of several types of lettuce like curly leaf, red leaf and oak leaf to allow you to harvest your salad already mixed. It works best to plant greens in blocks or wide rows, because they’re easier to harvest and you’ll have fewer weeds. If you plant blocks each time a new space opens up, you’ll have staggered plantings that can produce over a long time.
Some autumn vegetable varieties will tolerate cold better than others. Read seed packets before you purchase them to determine what will be best in your area, but don’t be put off by such notations as chard’s taking 60 days to mature. The greens are good when they’re younger, too.
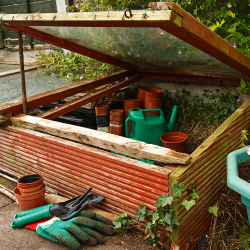
Water seeds after sowing and keep the ground evenly moist until the seedlings are up and growing. Seedlings may also need to be sheltered from extreme heat. Protect them by shading them from the sun with Reemay fabric until they are established.
Although insects tend to be less bothersome in late fall, some vegetables in the cabbage family, including mustard, kale and collards, may attract cabbageworms. Apply Bt (Bacillus thuringiensis) sprays for an organic method of control. As the plants begin to fill out, thin them enough to allow air to circulate and dry off moisture. This helps prevent insect problems too.
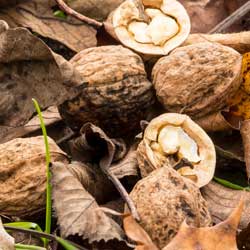
Harvest your fall vegetables as soon as the plants reach edible size. Even after the first frosts, you’ll be able to keep harvesting to enjoy the yield of your extended-season garden.
Top Fall Vegetables
- Broccoli
- Brussels Sprouts
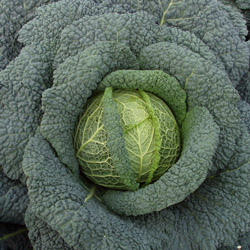
- Cabbage
- Cauliflower
- Swiss Chard
- Collards
- Kale
- Lettuce, Head
- Lettuce, Leaf
- Mustard
- Rape
- Spinach